A functional system for open kitchen shelves using everyday dishes, repeated materials, breathing room and realistic cleaning needs.
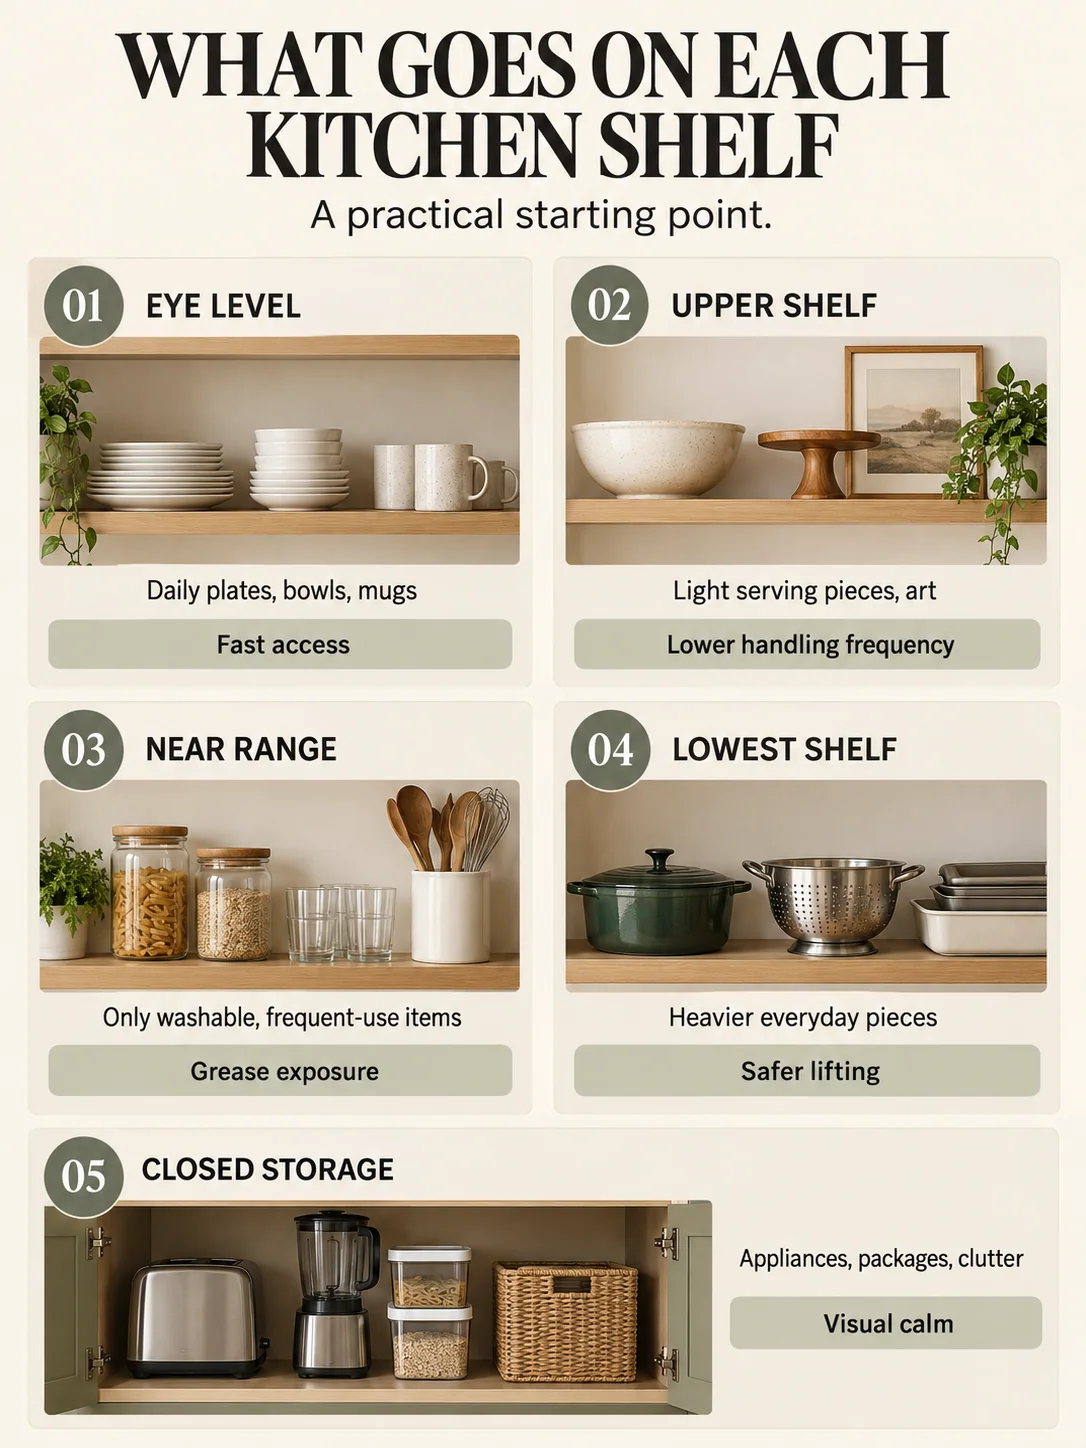
| Situation | Use | Check |
|---|---|---|
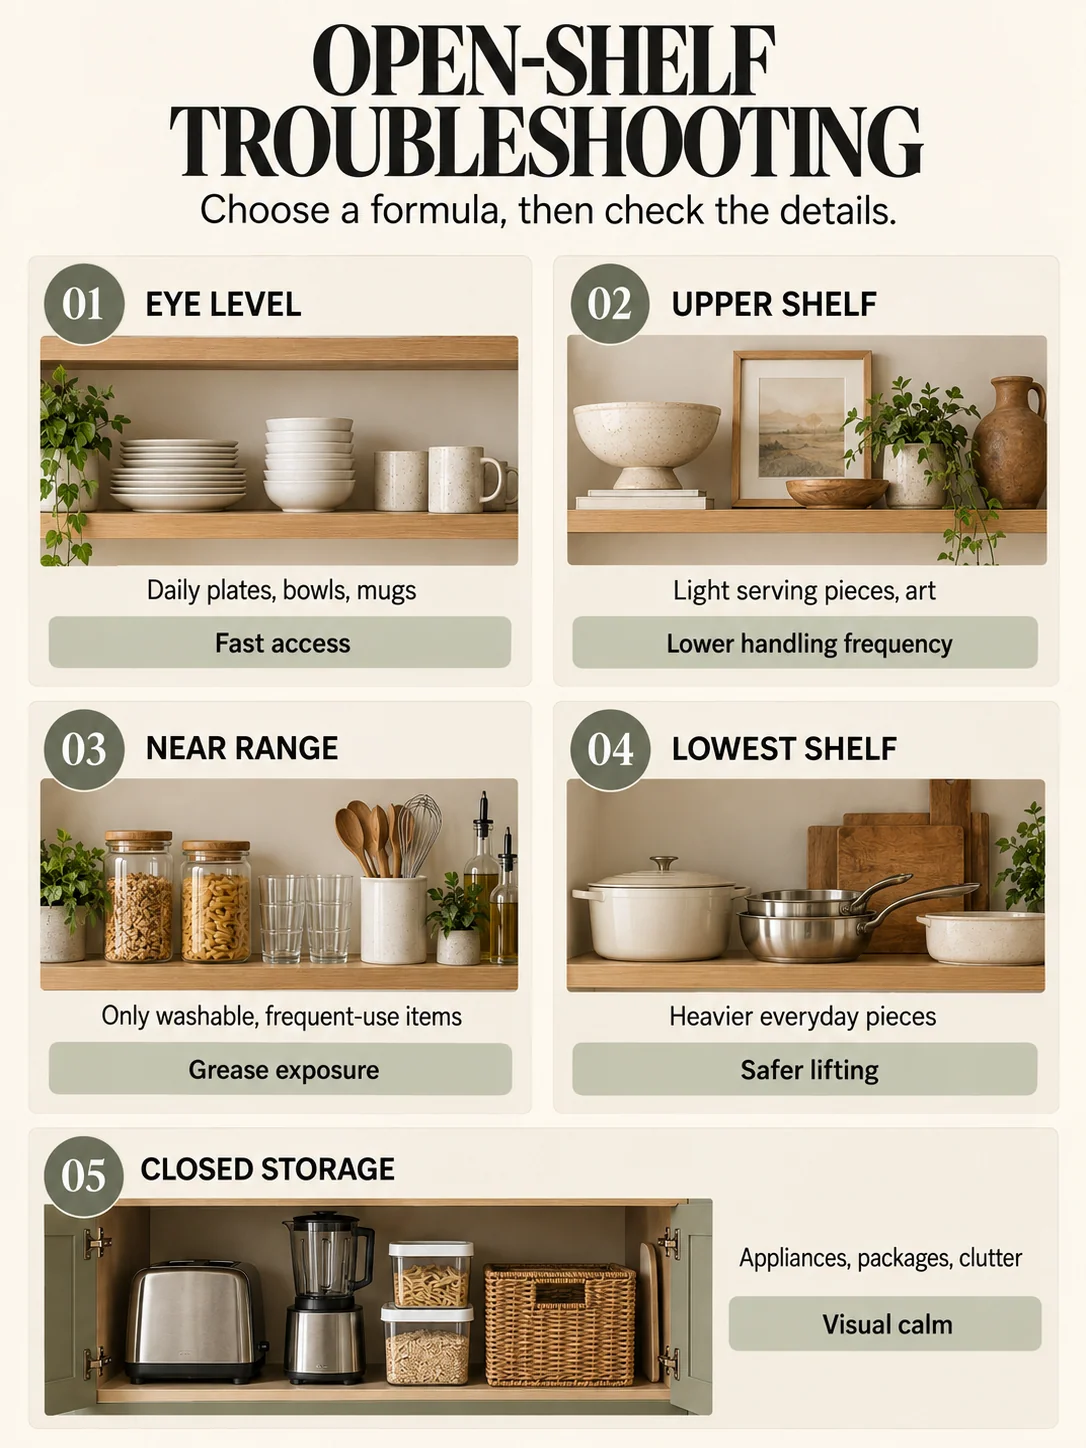
| Eye level | Daily plates, bowls, mugs | Fast access |
| Upper shelf | Light serving pieces, art | Lower handling frequency |
| Near range | Only washable, frequent-use items | Grease exposure |
| Lowest shelf | Heavier everyday pieces | Safer lifting |
| Closed storage | Appliances, packages, clutter | Visual calm |
1. Edit for function before color
Take everything down and sort it by use frequency, weight and cleaning burden. Daily dishes earn the best reach. Heavy appliances, unstable stacks and packaged food usually belong elsewhere. Open shelves work when they reduce friction, not when every object is chosen only for a photograph.
2. Build small groups with breathing room
Think in groups rather than a continuous line. Stack four plates, place two mugs beside them, then leave some shelf visible. That empty space makes the functional items readable and gives you room to return pieces without restyling the entire shelf.
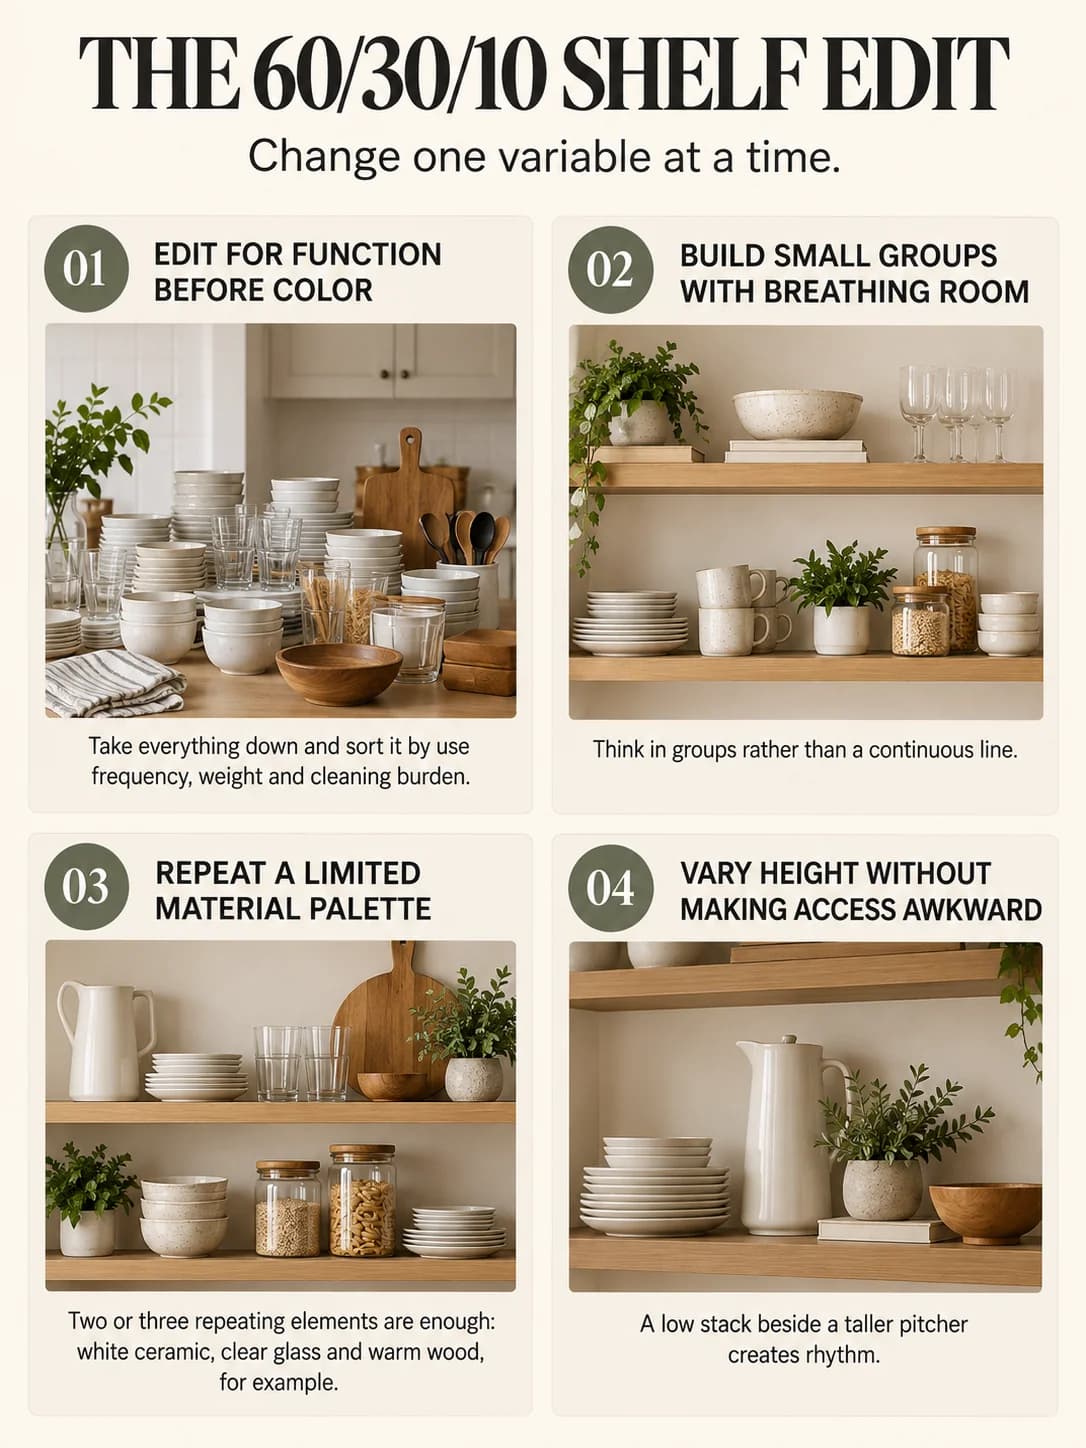
3. Repeat a limited material palette
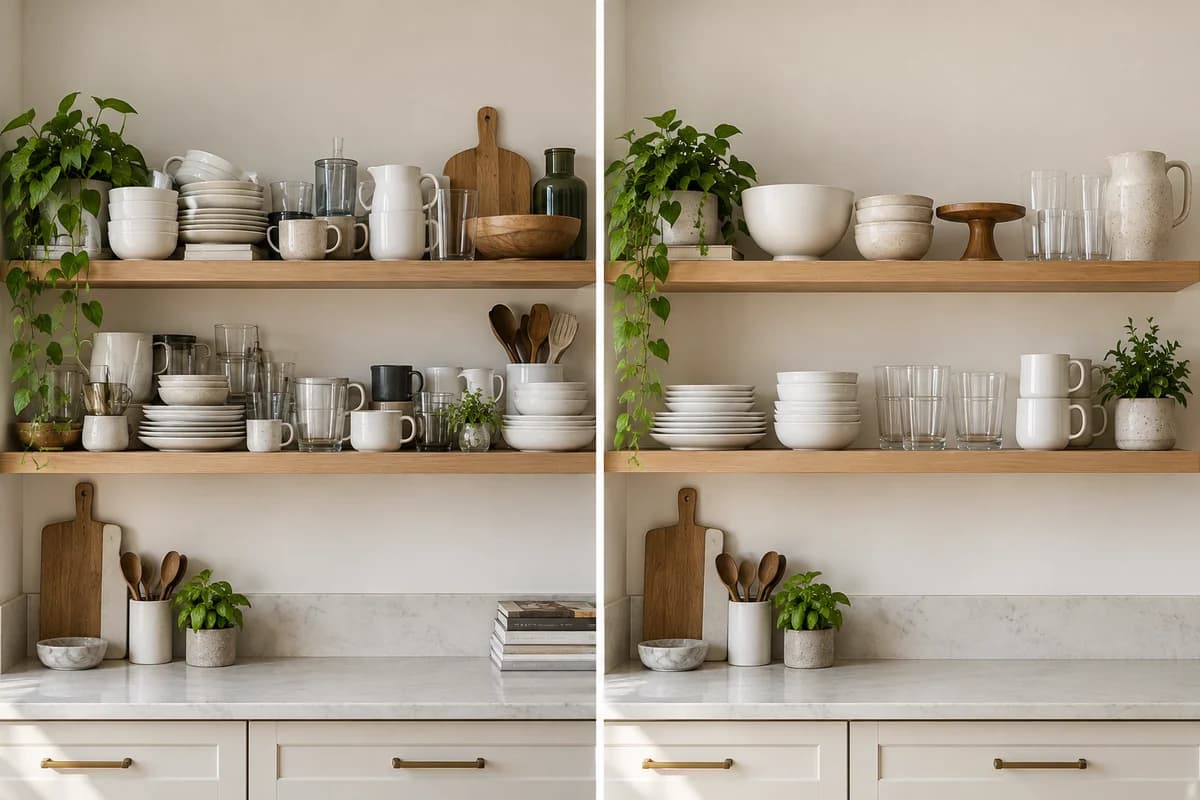
Two or three repeating elements are enough: white ceramic, clear glass and warm wood, for example. One contrasting object—a dark bowl, small artwork or plant—can become a focal point. Too many unrelated finishes make useful storage look like visual noise.
4. Vary height without making access awkward
A low stack beside a taller pitcher creates rhythm. Use art or a vase at the back only where it will not interfere with daily reach. Do not build fragile towers simply to create height; stability wins in a working kitchen.
5. Plan for dust and grease
Items used and washed often naturally cycle off the shelf. Rarely used pieces collect more residue, especially near a range. Keep shelf surfaces wipeable, avoid overcrowding, and move delicate or high-maintenance objects away from cooking zones.
A five-minute room test
Mock up the decision before drilling, buying or carrying heavy pieces. Use painter’s tape, cardboard, stacked books or objects you already own to mark the proposed outline. View it from the main doorway, the closest seat and the route through the room. A choice that looks correct in one photograph can still obstruct movement or feel wrong from where the room is actually used.
Test the first two situations in the table while holding everything else constant. Compare “Eye level” with “Upper shelf” and notice whether the stated checks—“Fast access” and “Lower handling frequency”—are satisfied. Take quick photos from the same position. The fixed camera makes scale and placement differences easier to see.
Common mistakes to avoid
Do not style or install around an imaginary empty room. Include the doors, chairs, serving pieces, switches and sightlines that will be present in daily life. Avoid adding more objects to disguise an unresolved proportion; editing is often the faster correction.
Finally, treat numeric guidance as a starting range where the article says it is one. Actual fixture construction, furniture size and room use still matter. The successful result should remain safe, reachable, cleanable and visually clear after the room returns to normal use.
The final check
Step back and look for one clear relationship: the eye should understand what leads, what supports it and whether the result still works in real use. If something feels off, change one variable at a time instead of replacing everything. That is the fastest way to learn which detail is doing the work.
Frequently asked questions
What should go on open kitchen shelves?
Frequently used dishes, bowls, mugs, sturdy glassware and a few easy-to-clean decorative pieces are practical choices.
How do you keep open shelves from looking cluttered?
Limit the material palette, group like items, leave shelf visible and move packaging or unrelated odds and ends to closed storage.
Are open shelves hard to keep clean?
They can be near cooking areas. Regularly used washable items and uncrowded shelves make upkeep easier.