Two frames can be individually level and still look as though they belong to different arrangements. The placement problem is usually the relationship between them: the gap, the combined center and the line they share. Solve those on paper before converting the layout into mounting marks. The frame edges and the hooks are two different sets of measurements.
Give the pair a single anchor
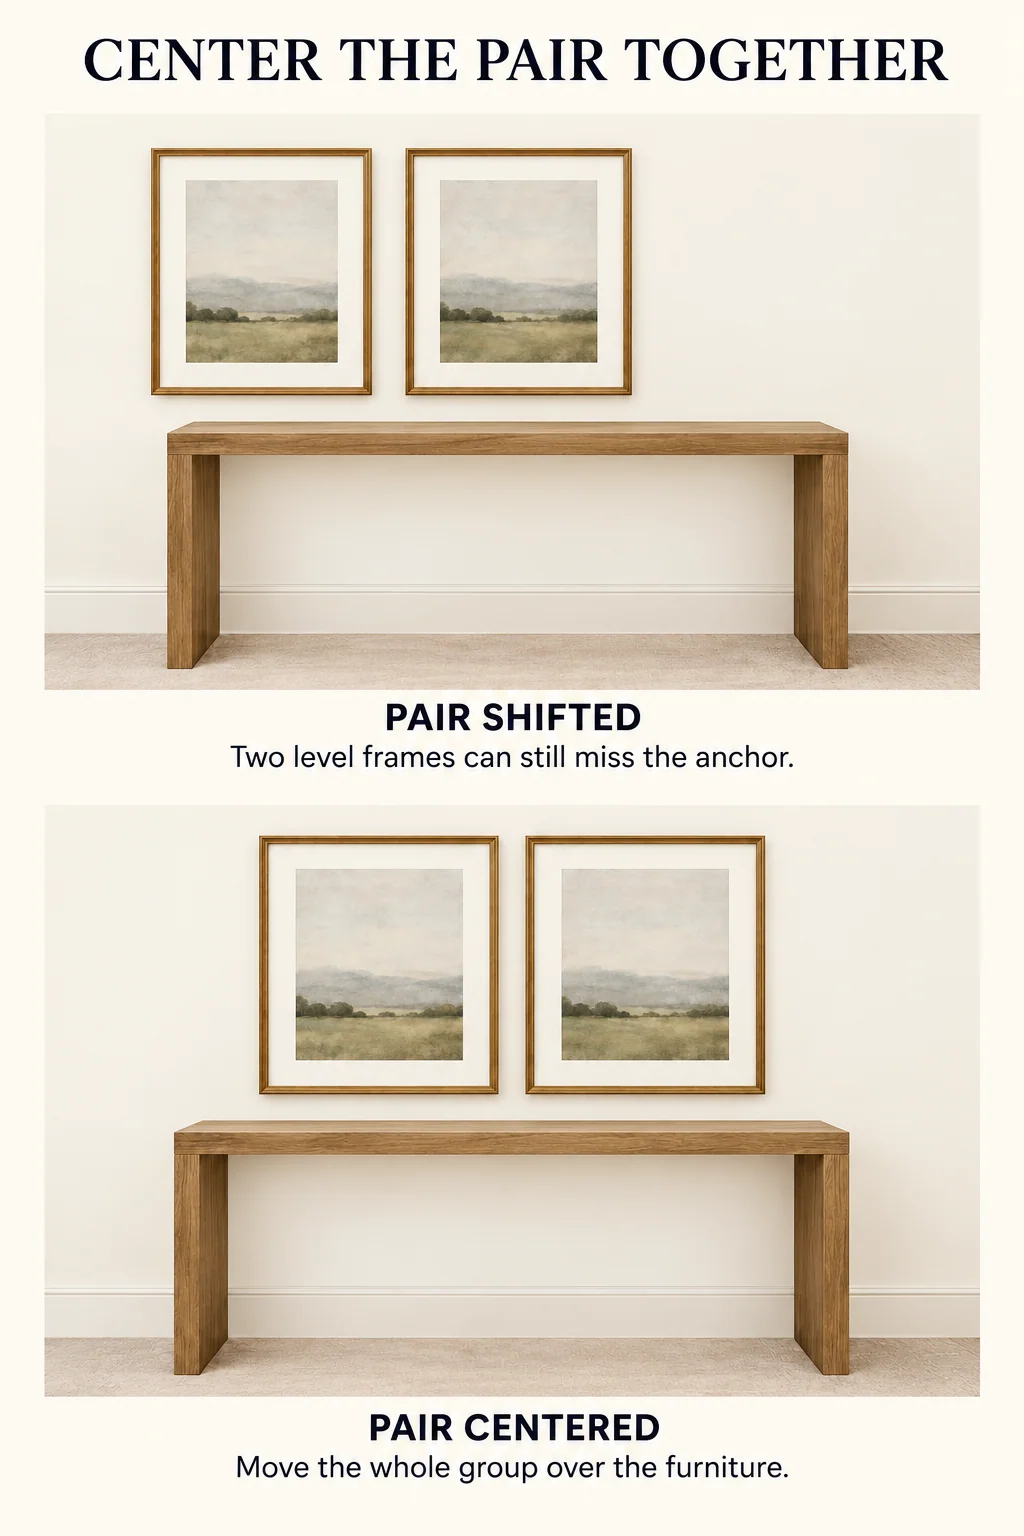
Above a console or sofa, begin by centering the whole group on that piece of furniture. On an otherwise empty wall, use the wall area that the pictures actually occupy, allowing for a doorway or tall cabinet. Centering each frame on its own half of the entire wall can create an unnecessarily large gap.
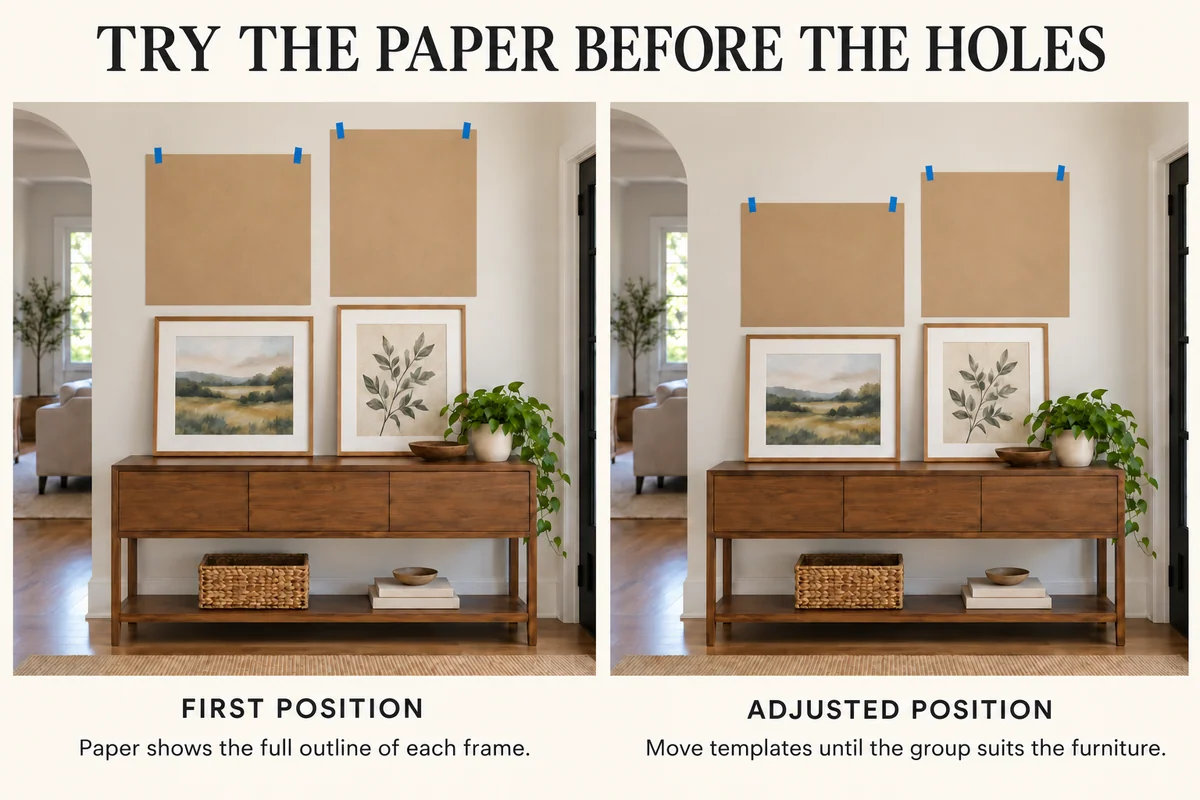
Cut two paper templates to the frames’ outside dimensions, including their borders. Start with a modest gap and adjust it from the main viewing position. The calculations below use a 3-inch gap to make the method clear; small frames, broad borders or very large art may call for a different choice. If the pair will sit over seating, first assess the overall size of art above a sofa.
For matching frames, a shared top line gives an orderly result. For unequal heights, compare shared centers with aligned tops. Neither is compulsory: the contents of the art can make a mechanically centered pair feel heavier on one side.

Worked layout: two matching frames above a console
Assume a console 60 inches wide and 32 inches high, with two frames each 18 inches wide and 24 inches high. All measurements here are illustrative inches. The combined width is 18 + 3 + 18 = 39. Centered on the console, the outer margins are (60 − 39) ÷ 2 = 10.5 on each side.
Use the console’s left edge projected vertically onto the wall as your horizontal starting point. The left frame runs from 10.5 to 28.5 inches; the right runs from 31.5 to 49.5 inches. Their centers are 19.5 and 40.5 inches from that starting point. Those two center marks are 21 inches apart, not 3 inches: the 3-inch figure describes the space between frame edges.
Choose the bottom edges at 42 inches above the floor after testing the templates. This leaves 10 inches over the console. Each top edge is therefore 42 + 24 = 66 inches high. The pair’s vertical center is 54 inches, which is appropriate only if it looks and functions well above this particular console; an eye-level rule should not override the furniture relationship.
Convert the frame tops into support points
Suppose each frame has a single centered hanging wire. Pull the left frame’s wire upward at the point where it will rest on the hook, without stretching or damaging it. Its loaded support point measures 4 inches below the frame top. The left hook’s support point belongs at 66 − 4 = 62 inches above the floor, horizontally 19.5 inches from the console’s left edge.
The right wire sits only 3 inches below its frame top, so its support point belongs at 63 inches, horizontally 40.5 inches from the same origin. The hooks are at different heights even though the frame tops align. Copying the left hook height to the right would put the right picture an inch too low.
A picture hook’s nail-entry point may sit above its support cradle. Place the cradle at your calculated mark and locate the nail or screw using the actual hardware instructions. Do not treat a support-point calculation as a universal drilling mark.
Worked layout: a tall frame beside a smaller one
Now use a 20-by-28-inch frame on the left and a 16-by-20-inch frame on the right. With a 3-inch gap, the group is again 39 inches wide. On the same 60-inch console, both outer margins remain 10.5 inches. The left frame’s center is 10.5 + 10 = 20.5 inches from the left origin. The right frame begins at 10.5 + 20 + 3 = 33.5 inches, placing its center at 41.5 inches.
Try a common vertical center at 56 inches above the floor. The tall frame’s top is 56 + 14 = 70 inches and its bottom is 42. The smaller frame’s top is 56 + 10 = 66 inches and its bottom is 46. There is no shared top or bottom edge; the midpoint is the deliberate connection.
If the tall frame’s centered wire support sits 5 inches below its top, its support mark is 65 inches high. If the smaller frame’s support sits 2 inches below its top, that mark is 64 inches high. Their horizontal positions remain 20.5 and 41.5 inches. Write each frame’s own measurements on its corresponding template so the two sets do not get exchanged.
For frames with two D-rings or corner brackets that attach separately, this single-center-hook example does not apply. Transfer the actual two support positions from each frame and use the maker’s mounting method. Do not improvise a wire conversion simply to reuse the arithmetic.
Test the arrangement before committing to the wall
Tape the templates using a wall-finish-compatible tape, and view them from the doorway and the usual seat. Transfer a level reference line rather than following a ceiling or console top that may be slightly uneven. If a dark, dense image seems to pull the group sideways, swap the two artworks or adjust their relationship on paper before changing the physical center.
Weigh each complete frame, including glazing, and choose fixings rated for that weight and the actual wall substrate. A fastener rated for a stud is not automatically rated the same way in unsupported drywall. Follow the fitting’s installation instructions and check for concealed services before drilling. With adhesive systems, follow the exact product’s surface, size, weight, preparation and waiting requirements. Command picture-hanging strips, for example, are not intended for wallpaper, paper-backed contact surfaces, valuable items or placement above beds.
Once the first picture hangs, measure the intended gap again from its actual outer edge before installing the second. If a frame tilts repeatedly, check whether its wire is sliding or its fittings differ before adding more holes; compatible frame bumpers or the maker’s stabilizing method may help.
If the wall cannot take a suitable fixing or your rental does not permit the required installation, reconsider the display. A picture ledge has its own mounting requirements, so it is an option to investigate, not a way to avoid checking the wall. For a non-wall-mounted alternative, smaller pictures with proper rear easel stands can sit side by side on a stable, sufficiently deep console, away from the edge and from places where they could be knocked. Use frames designed for that display; do not simply lean heavy glazed pictures where they can slide. If you move the console before installation, move the paper pair with its new center and recheck the gap and sightlines before transferring any support marks. The finished pair should be both visually connected and supported by hardware chosen for the real frames.