A package marked 72 by 72 inches describes the fabric, not the opening it will cover. Rings lower that fabric below the rod, folds use some of its width, and the liner must finish inside the wet area. Write down width and length separately so a familiar package size does not make the decision for you.
Use one reference point for the drop
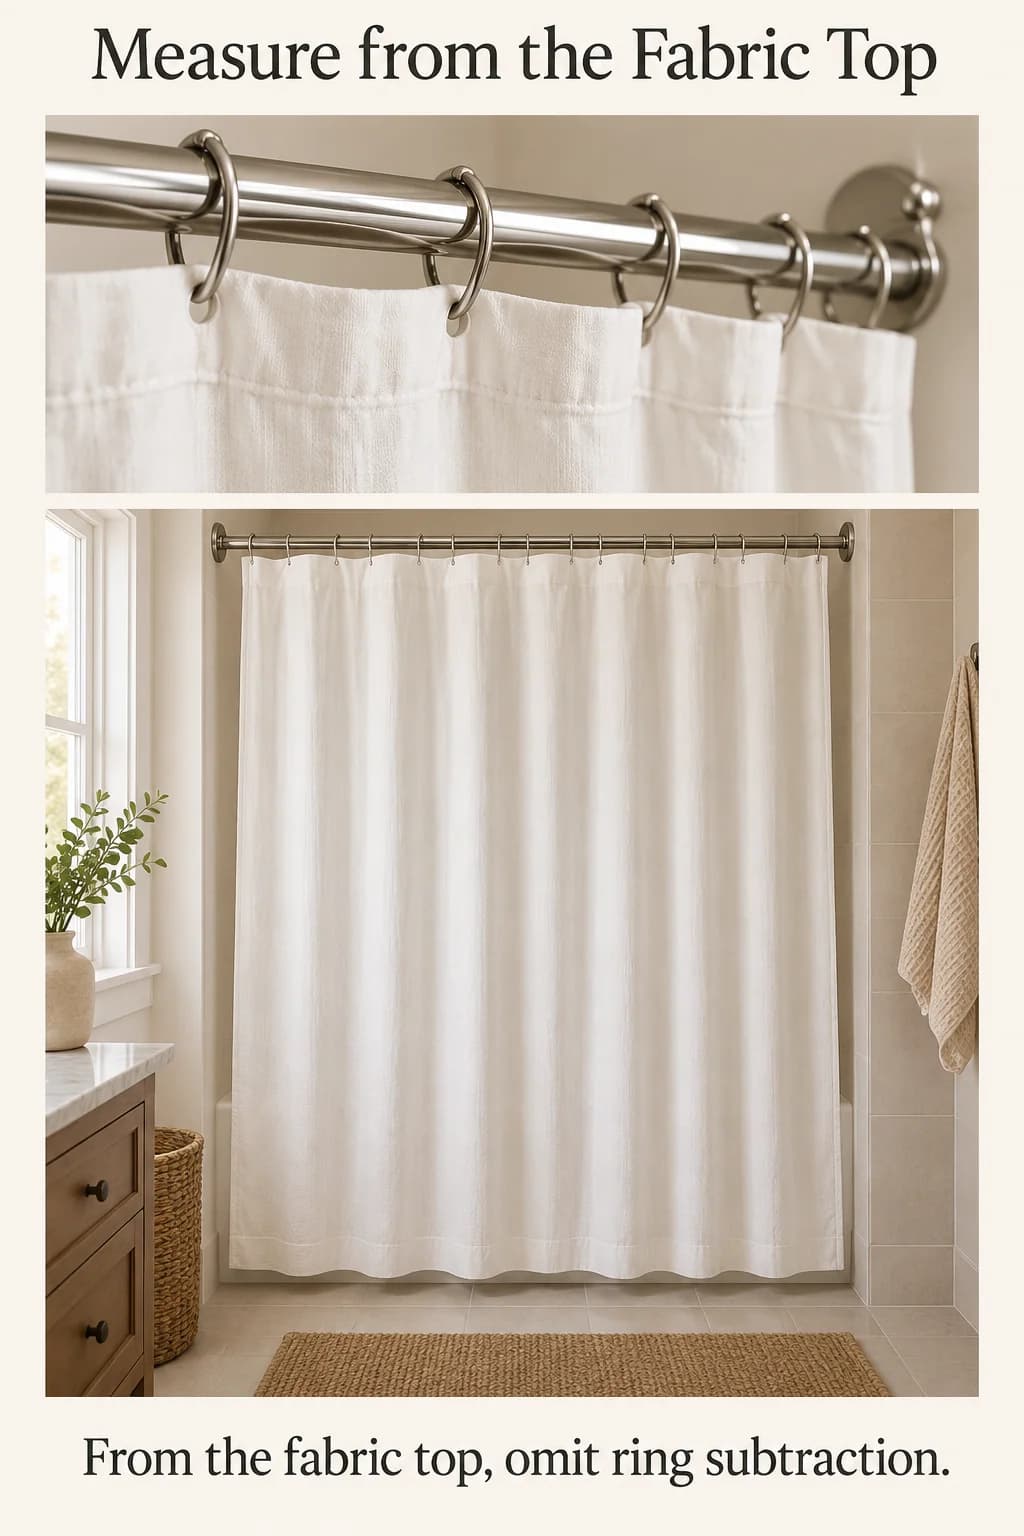
Install or identify the intended rod and suspension system first. Measure vertically from a clearly chosen rod reference, such as its underside, to the finished bathroom floor. Then measure the actual distance from that same reference to the top edge of the hanging fabric. This offset includes the effect of the real rings and header arrangement. It is not simply the ring's outside diameter.
The calculation is rod-reference height minus offset minus desired hem height equals fabric length. Alternatively, measure directly from the actual fabric top to the floor and subtract the desired hem height once. If you have already measured from the fabric top, do not subtract the ring offset again. That would shorten the curtain twice for the same hardware.
Hookless tops need their own installed measurement. If a product's stated length uses a different reference, follow its specification and translate your measurement to that reference before ordering. Do not guess the location of the fabric top from a photograph of a hook.
Work through a tub opening
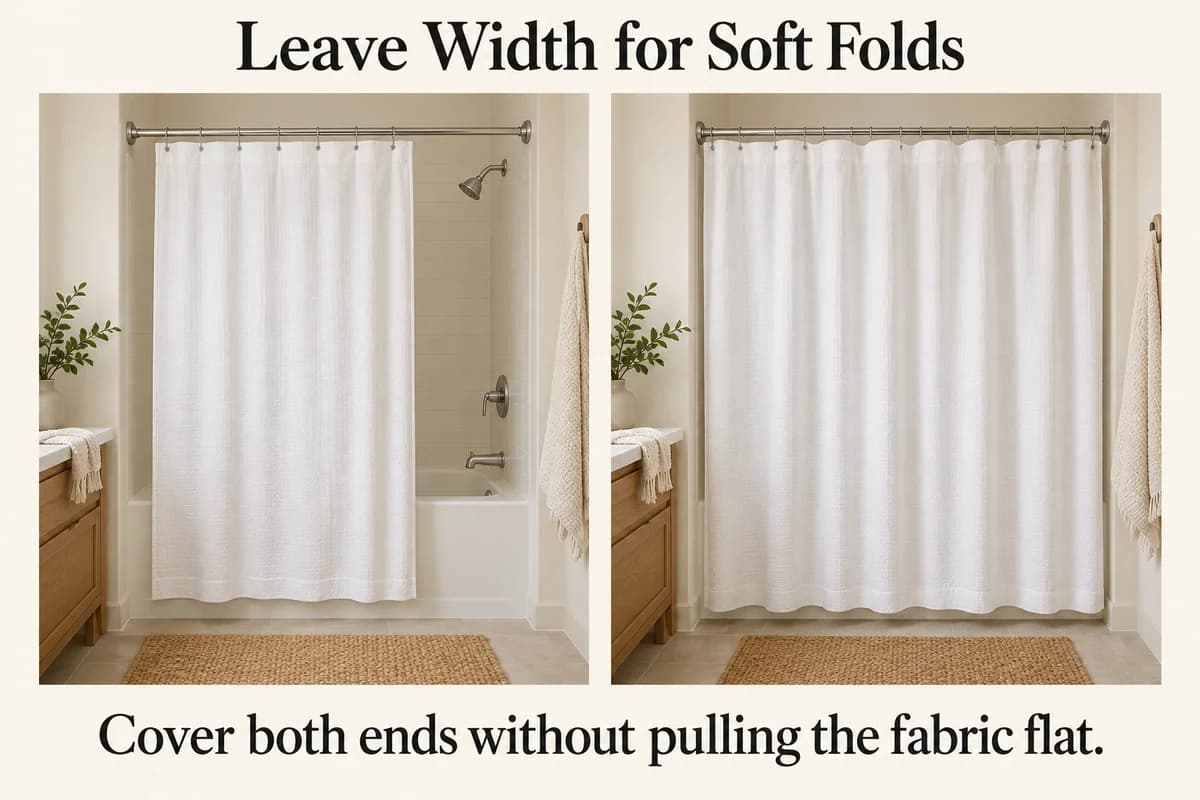
Suppose a straight rod spans a 60-inch tub opening. As an illustrative width budget, allow 2 inches beyond the opening at each side and another 8 inches for relaxed folds: 60 plus 4 plus 8 equals 72 inches. A 72-inch-wide curtain is therefore a sensible candidate. That allocation is a planning estimate, not a promise that every fabric will form identical folds. Close the actual curtain and check both ends without stretching it flat.
For the drop, the chosen rod reference is 78 inches above the bathroom floor. The installed fabric top hangs 2 inches below that reference, so it is at 76 inches. A 72-inch-long outer curtain finishes 4 inches above the floor: 78 minus 2 minus 72 equals 4. If that is the intended appearance, the length works. If you wanted a 2-inch hem clearance instead, the calculation calls for 74 inches, or a revised rod position if the installation permits it.
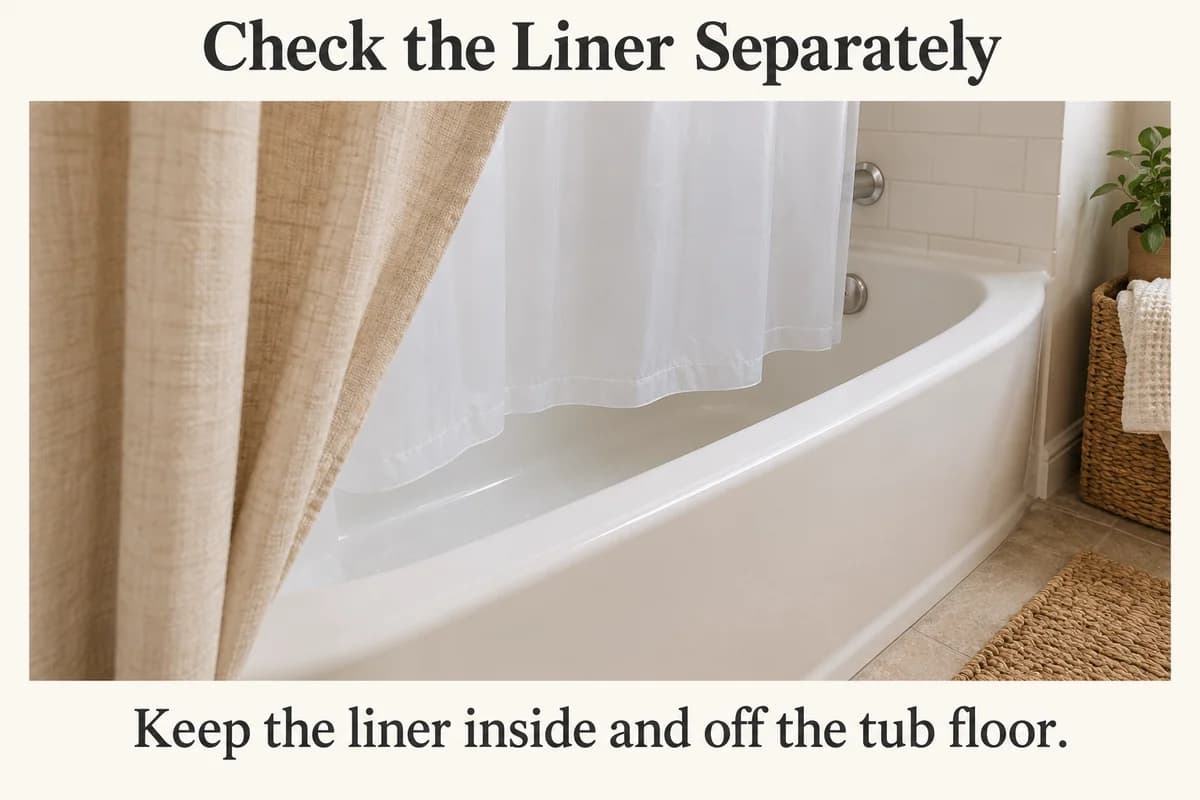
Now check the liner separately. In this example the tub's interior floor is 3 inches above the bathroom floor and the rim is 16 inches above it. A liner hem at 4 inches would sit 1 inch above the tub floor and 12 inches below the rim, inside the tub. These assumed dimensions explain the method; measure your own tub and follow the liner instructions. A higher tub floor could make the same liner pool, even though the decorative outer curtain looks right.
Lowe's describes 72 by 72 inches as a typical curtain size, while Home Depot lists several standard and longer options. Neither makes that size correct for every tub. Check the stated width and length on the actual product, including whether the listing is for the curtain, liner or both.
A narrower stall needs a different width
Take a stall opening 40 inches wide. A provisional budget of 2 inches at each side plus 10 inches of folds produces a 54-inch width. A 54-inch stall curtain is more manageable here than automatically using a 72-inch tub curtain, which would leave substantially more fabric to bunch near the entrance. Check that the sides cover the opening when closed and that the curtain still slides aside far enough for entry.
For this stall, the rod reference is 82 inches above the shower floor and the measured fabric-top offset is 2 inches. The top edge is therefore 80 inches above that floor. A desired hem 2 inches above the shower floor calls for a 78-inch length. A 72-inch curtain would end 8 inches above the floor, which is a different result even though it is a common package size.
Assume the stall has a 4-inch curb. The proposed hem at 2 inches sits below the top of the curb while remaining off the floor. Keep the water-containing layer inside the curb and follow the product's installation guidance. This geometry alone does not prove splash containment; shower-head direction, curtain movement and side gaps still matter. A curbless shower requires a plan appropriate to that installation, not a copied curb example.
Diagnose the mismatch before changing everything
If water escapes at one end, close the curtain fully and inspect the side coverage before buying a longer one. Extra length does not fill a horizontal gap. If the hem pools, remeasure the installed fabric top and the wet-side floor. If folds jam at the entrance, check excess width and ring travel rather than immediately raising the rod.
For a curved rod, measure along the path the curtain actually follows; a straight wall-to-wall measurement understates that path. For a separate liner and decorative curtain, record each one's top and hem because double hooks or different headers can suspend them differently. Check manufacturer care instructions for dimensional changes after washing; do not invent a universal shrinkage allowance.
Plan the dry-side towel location with the towel-bar height guide so reaching a towel does not require pulling the wet curtain across the floor. Keep spare toiletries in the organized bathroom counter zone, away from the curtain's travel. Once the opening closes, the hem clears and the wet layer stays inside its boundary, record the successful fabric dimensions and suspension hardware together for the next replacement.