A pair of sconces can look centered on paper and still crowd the mirror, catch a cabinet door or put a bright bulb directly in someone's eyes. Before an electrician marks the boxes, assemble the mirror dimensions, the fixture drawing and the heights of the people who use the basin. Those three pieces of information determine the layout together.
Make a full-size fixture envelope
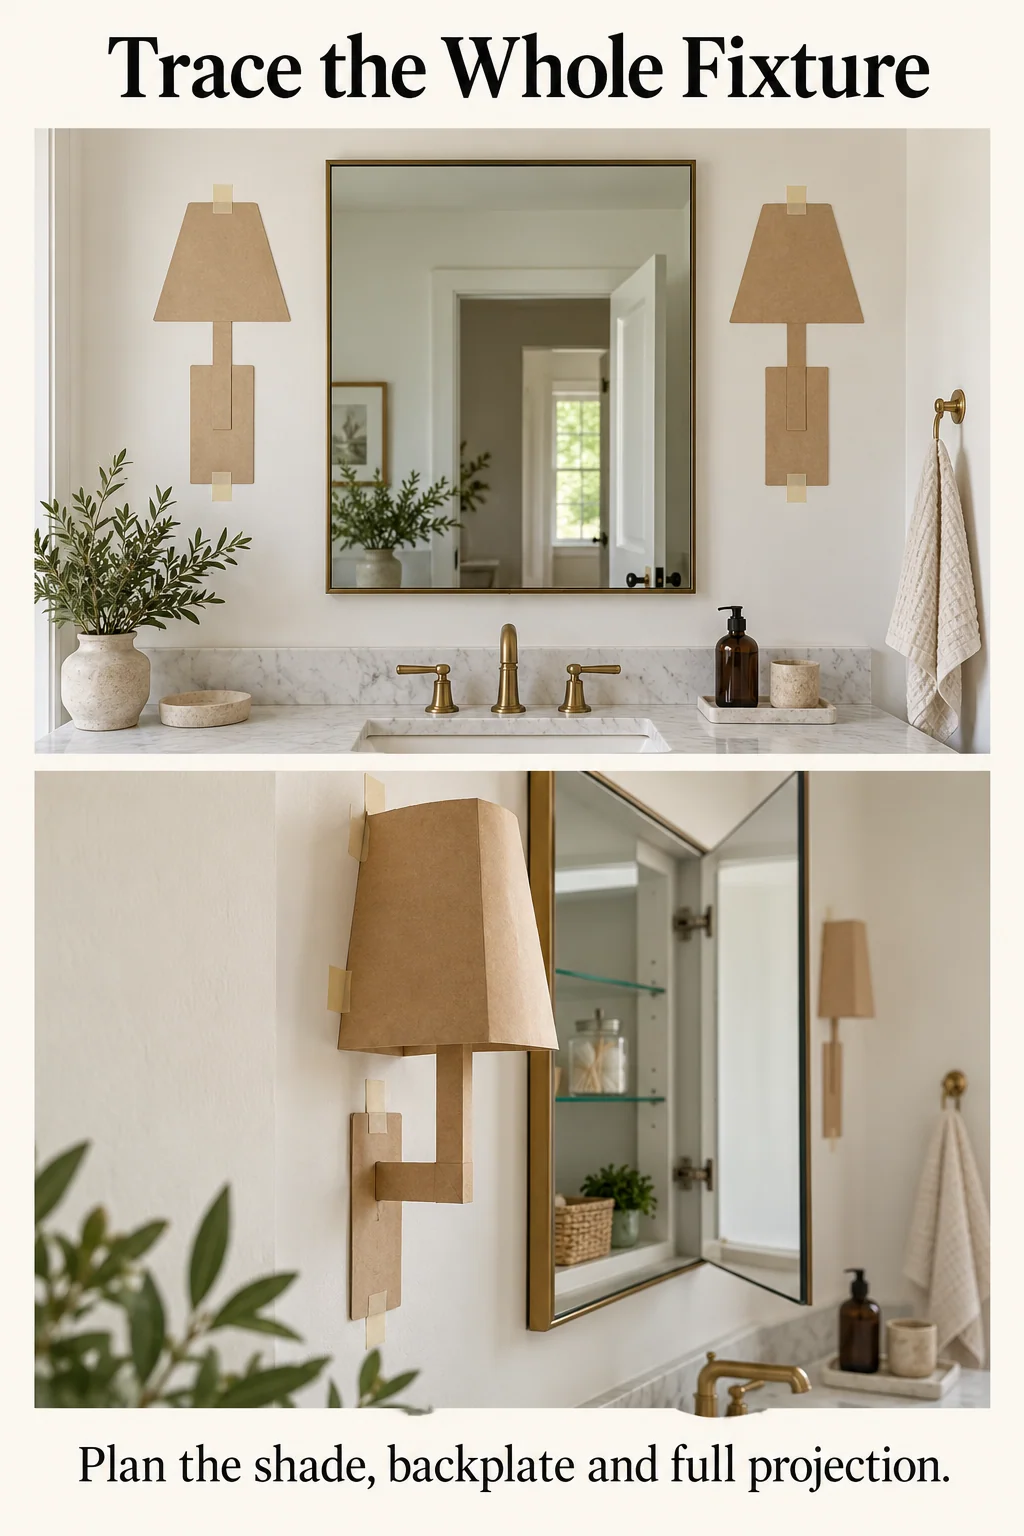
Trace the entire fitting on paper, including its widest shade and backplate. Add a side-view cardboard piece for its projection from the finished wall. A small circle representing the electrical box cannot show where the glass will end. Keep the manufacturer's mounting template separate: the box center may sit above or below the visible fixture midpoint.
For a concrete size reference, Kichler lists its Kennewick 55085BK at 4.75 inches wide, 9.75 inches high and 6.55 inches deep, with a 3.75-inch-diameter shade. This is a dimensional example, not a product recommendation. Use the current drawing for the exact fixture you intend to install, including its approved orientation. A different shade or backplate can invalidate these marks even when the new fitting looks similar online.
Kohler's lighting guide suggests a backplate midpoint around 60–65 inches above the floor for bathroom sconces. Treat that as a starting trial, not a universal wiring height. The light source, shade opening and backplate are different reference points. Establish the bathroom mirror height with the same users before finalizing either item.
A wide vanity with room beside the mirror
Consider an illustrative 48-inch-wide clear wall above a vanity, with a centered 28-inch mirror. Measuring horizontally from the left wall edge, the mirror occupies inches 10 through 38. Trial sconce centerlines at 6 and 42 inches. With the 4.75-inch-wide fixture, each fitting extends 2.375 inches on either side of its centerline. That leaves 1.625 inches between each fixture's widest edge and the mirror, and 3.625 inches outside each fixture to the wall edge.
These are planning gaps, not prescribed installation clearances. They show that the pair physically fits; the electrician still checks the fixture instructions, wall construction and applicable requirements. A bulky frame could consume the apparent mirror gap. Measure to the outside of that frame, not the glass.
Tape the full-height templates at a trial visible midpoint of 64 inches. Ask both users to stand where they normally wash, then repeat the test seated if that is how anyone uses the vanity. A shorter user should not have to look directly into an exposed lamp opening to see their face. A taller user should not be lit primarily from below. If one position cannot serve both, compare a taller diffused light source rather than simply averaging their heights.
At the accepted trial position, use the fixture's real mounting drawing to transfer the box marks. Write down the reference explicitly, such as “fixture outline midpoint at 64 inches; electrical center per template.” Do not hand over “sconces at 64” and expect everyone to interpret it identically.
The narrow vanity that needs a different plan
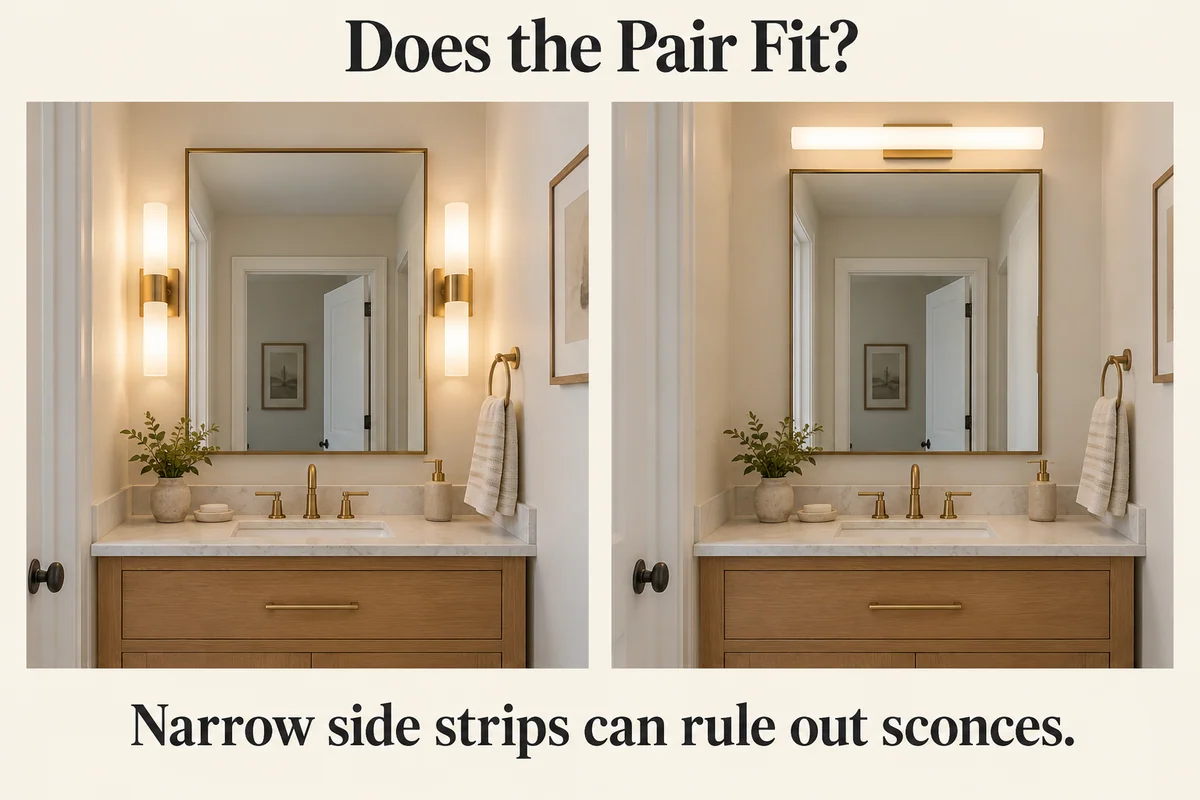
Now take a 30-inch clear wall and a centered 24-inch mirror. Only 3 inches remain on each side. A 4.75-inch-wide fixture cannot occupy either strip without crossing the mirror or the outside boundary. Pushing its centerline closer to the frame does not make the fitting narrower.
A 16-inch mirror leaves 7 inches per side. Trial fixture centerlines at 3.5 and 26.5 inches would leave 1.125 inches on both sides of each fitting within those strips. That solves the width calculation, but it may produce a mirror too narrow for the users. It also places the lights closer together than Kohler's general spacing guidance. Do not shrink the mirror solely to force the original lighting idea.
For this example, retain the useful 24-inch mirror and investigate a manufacturer-approved light above it or a suitably sized illuminated mirror. Check the actual vertical space, diffusion and face lighting. The outcome of a pre-wiring checklist can be to reject side sconces. That is a better result than discovering the conflict after the wall is finished.
Projection is a separate test
Hold the side-view mockup against the wall and open every nearby medicine-cabinet door fully. A fitting that clears a closed mirror can still occupy the door's path. Include the handle, not just the door panel, and check that the shade can be removed for maintenance. The 6.55-inch projection in our example deserves a physical test; a front elevation conceals it entirely.
If a door strikes the mockup, try a shallower fitting, a different mirror-door arrangement or a revised light location before moving the wiring. Raising the sconce is useful only if it also serves the user's face. The way a shade controls the visible bulb matters here too: swapping to clear glass can introduce glare without changing the outer dimensions.

Turn off the ceiling downlight during the final lighting trial so it does not mask what the sconces contribute. Use a safe showroom demonstration or an electrician-arranged temporary test, never improvised exposed wiring. Compare the two sides of the face, the eye area and the reflected bulb. Once width, reach, glare and door movement all work, give the electrician the exact fixture model, orientation, template and marked reference heights together.